This post may contain affiliate links. If you buy something from one of our links we may earn a commission. Thanks
How To Grow Table Queen Squash From Seed To Harvest
Well howdy everyone. Today I am going to start a new series on growing Table Queen squash from seed to harvest.
I have a pack of Winter Squash seeds here that I will be using. It’s Burpee’s Bush Table Queen and it’s an acorn squash. They’re quite tasty.
Burpee Bush Table Queen Winter Squash Seeds 25 seeds
I took down my previous grow of peppers and tomatoes, and I’m going to be growing these plants indoors in their place.
I think one plant will fill my closet. It says on the seed packet they get 3 feet across and take 80 days. I suspect they will get larger than that in my closet.
I could grow them outdoors but they often come down with powdery mildew late in the summer here in Western Washington. My outdoor garden space is limited and I think they will do much better indoors.
Also, squash are a tender perennial. Outdoors they die back when it gets cold. But indoors I expect an extended harvest period.
Growing Table Queen Squash From Seed
Here’s my seed starting technique:
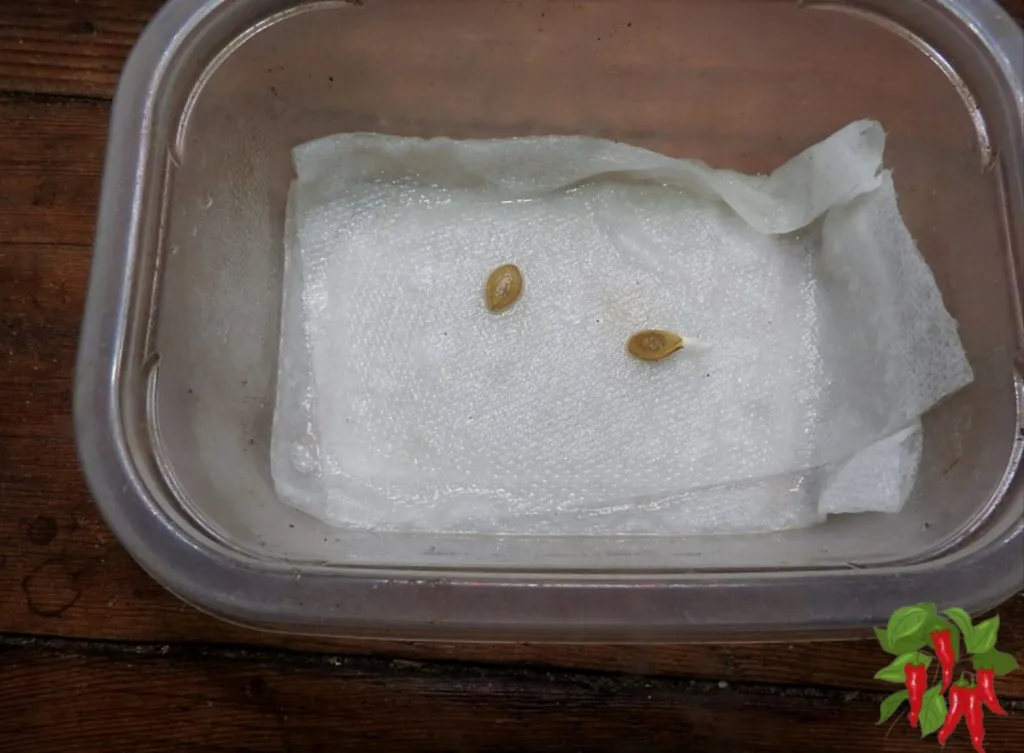
- I have a plastic container with a lid.
- I have a moist paper towel placed in the container.
- I place the seeds on top.
- I cover it and place it in a warm place
- In a few days the seeds germinate.
- Transplant into a small pot
I will transplant them into a two-inch pot with coco coir when they germinate. And when they fill that pot, they will go into my closet.
Anyway, these seeds should sprout in a couple of days and I will come back when they’re sprouted and then I will show you how I transplant the seedlings, and then from there we will go into my closet and we will watch them grow and fruit and all that good stuff.
Signs Of Life After 4 Days – Germination Is Starting
Well, after about three and a half days, one of our seeds is showing signs of life. You can see a root poking out on the end. The other one has not started yet but I only need one plant.
I will leave the unsprouted one in the container for a bit longer. But I will transplant the sprouted seed into a 2 1/2 inch pot filled with coco coir.
If you leave them too long, the roots can start growing into the napkin, and then taking them out is harder.
I placed the pot under the light on my AeroGarden where it should be up in a few days. When it fills the pot out in a week or two it will be transplanted into my closet
Table Queen Squash Seedlings 7 Days Later
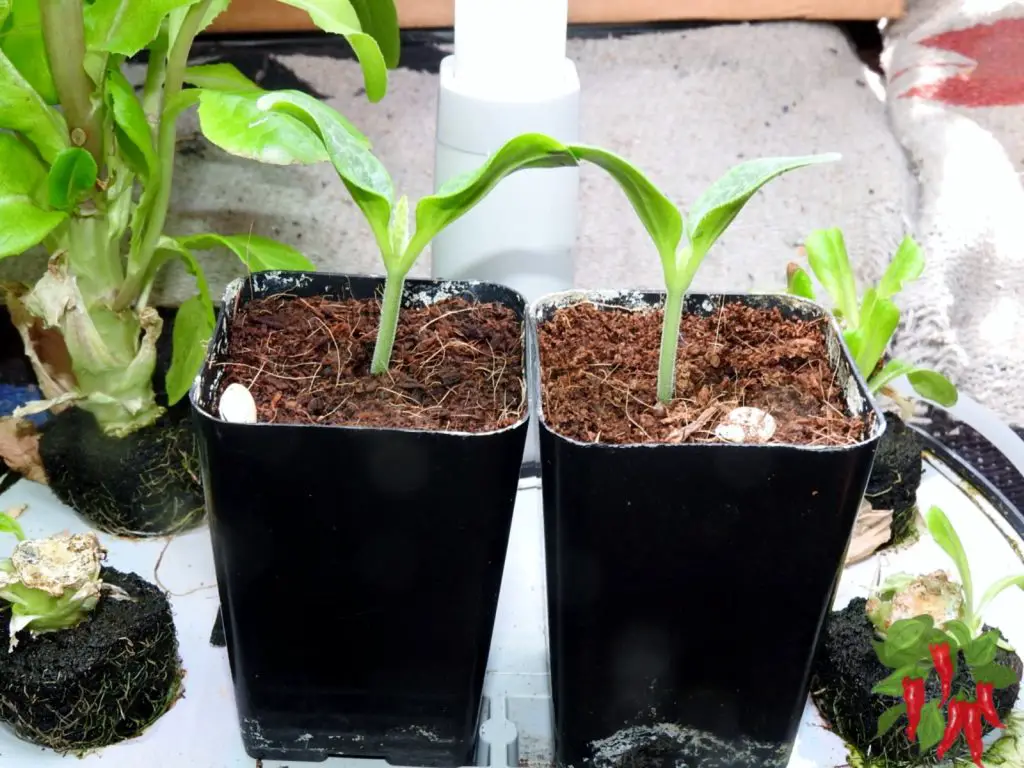
My plants have been in pots for about 10 days. It took 3 days for the seedlings to break the surface of the pots and about 3 days to shed the seed husk.
If you look closely at the image you can see the first true leaves emerging on the plant on the left. The plant on the right is a few days behind the first seed to germinate.
I will only plant one in my closet the other will go outside. I think in a week, or two at most they will be ready to transplant.
Inside my Closet
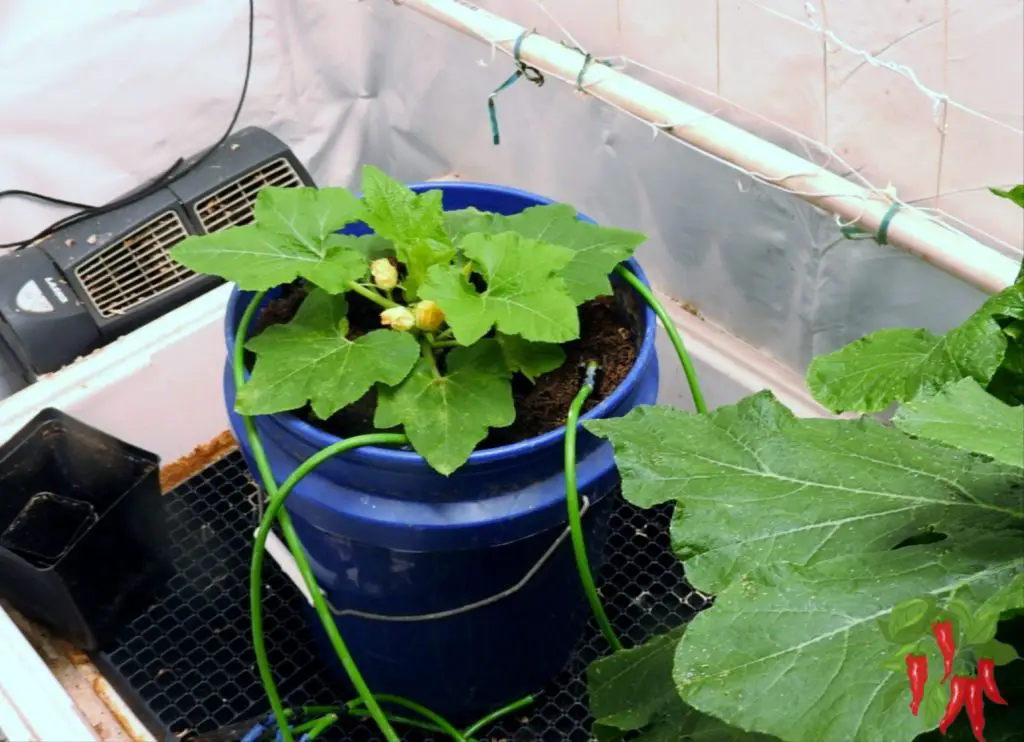
I have a top feed drip system, an LED grow light, and 5-gallon buckets filled with coco coir.
I call it a hydroponic system because coco coir is a hydroponic grow medium. So even though it looks like soil, It’s something totally different.
Transplanting Time
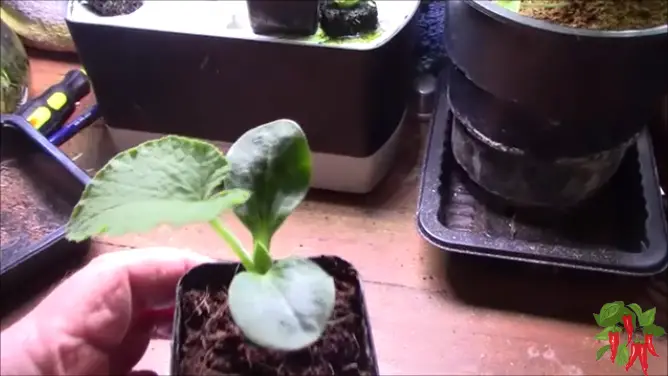
Plants have been up for another week or so and it’s time to transplant them into my closet. Here is my transplanting video inside my closet.
Transplanting Table Queen Squash Into My Grow Closet
How To Use Coco Coir In Hydroponics
we’re going to grow this squash plant hydroponically in coco coir.
Now somebody commented that I wasn’t growing hydroponically because I’m growing in soil.
I just want to say this not soil it is coco coir and it is a hydroponic grow medium.
It’s not at all like soil although some people use it like soil and they get soil like results.
But for Hydroponics it’s different.
Watering Coco Coir
First of all you never let coco coir dry out. You always keep it moist and that’s not the same as soil where a lot of times you let soil dry out before you water it again.
So you keep coco continuously moist not wet.
Coco Coir Needs To Be Fertilized
Soil typically provides some nutrients but coco coir has none so you have to feed it.
Another big difference about coco coir is that you feed it every single time that you water.
You never use plain water on coco because it washes out the nutrients and it disrupts the cation exchange capacity which is important for your plants to get
the nutrients they need
So it’s always going to be fertilized when you water. If you need to add additional water for some reason add a little bit of fertilizer to it first.
Magnesium Supplementation
The other thing about coco coir is you’ll need to supplement magnesium
that’s how you balance out your cation exchange capacity.
It is complicated but as an example, if you have 10 spots on a shelf where you can put something you don’t want to have only one thing on the shelf take up all the room when you can have three or four things that are more important there too.
Not a good way to explain it but you can always look up the term cation exchange capacity on Google.
So you always use magnesium when you fertilize. I use Jack’s 3-2-1 and it has magnesium sulfate in it in the form of Epsom salts so I have that covered.
 But I do sometimes use CaliMagic which is another magnesium supplement.
It’s really good and it’s not a bad idea to mix two forms of magnesium.
So I use Jack’s 3-2-1 mix and the base is a 5-12-26 and that sounds kind of out of balance but you add 15% calcium nitrate to it and you add the magnesium sulfate to it and you get a balanced nutrient mix that works really well.
So here we are with Table Queen hydroponic squash and it’s in a hydroponic grow medium.
I’m going to turn the irrigation timer on and my grow light is on a timer to so this is an automated system.All I need to do is keep the reservoir full.
We’re going to watch this plant grow and we’re going to come back in about a week to 10 days and see how much this plant has grown
So till then take good care of yourselves. Happy gardening and don’t forget to
keep it green all right see yall later bye-bye.
One Week Later Hydroponics vs Traditional Growing
One week later the plant being grown hydroponically is more than twice the size of the plant in a conventional pot.
The same amount of light, the same growing medium the only difference is the irrigation in a hydroponic setup.
Two Weeks Later Hydroponics vs Traditional Growing
I am growing Table Queen Squash hydroponically from seed to harvest in this video series and now its week 2.
I am using coco coir which is a hydroponic grow medium and explain how to use coco coir.
To Recap:
One week later the plant being grown hydroponically is more than twice the size of the plant in conventional pot. Same amount of light, same growing medium the difference is the irrigation in a hydroponic setup.
Now In Week Two:
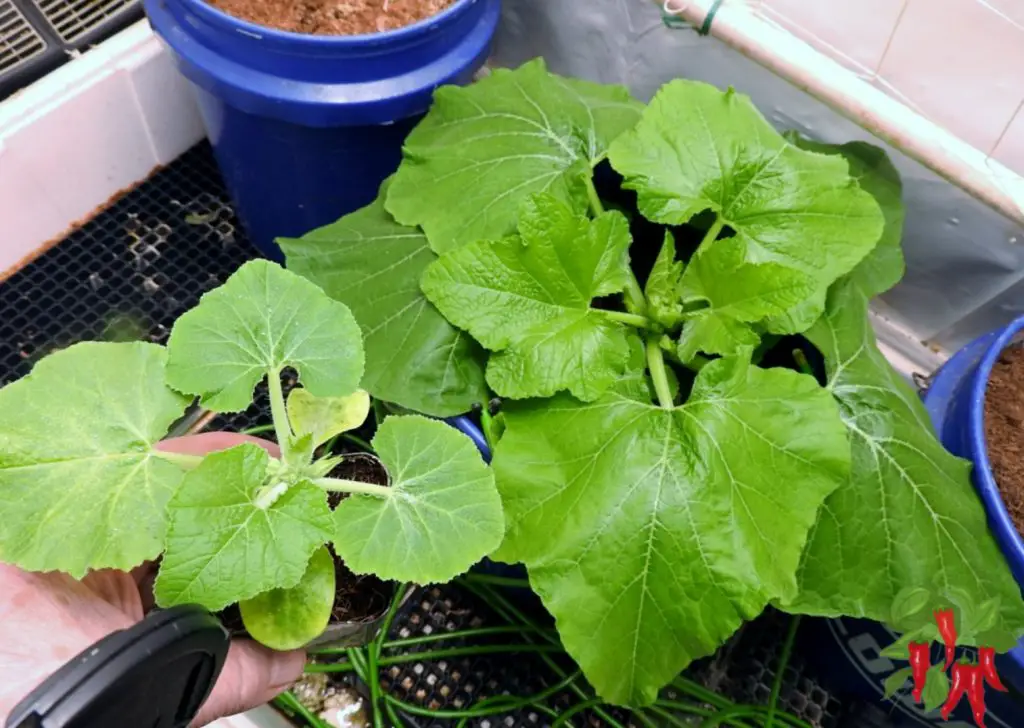
After 2 weeks the difference is like night and day with the hydroponic plant more than 4 times the size of the conventional one.
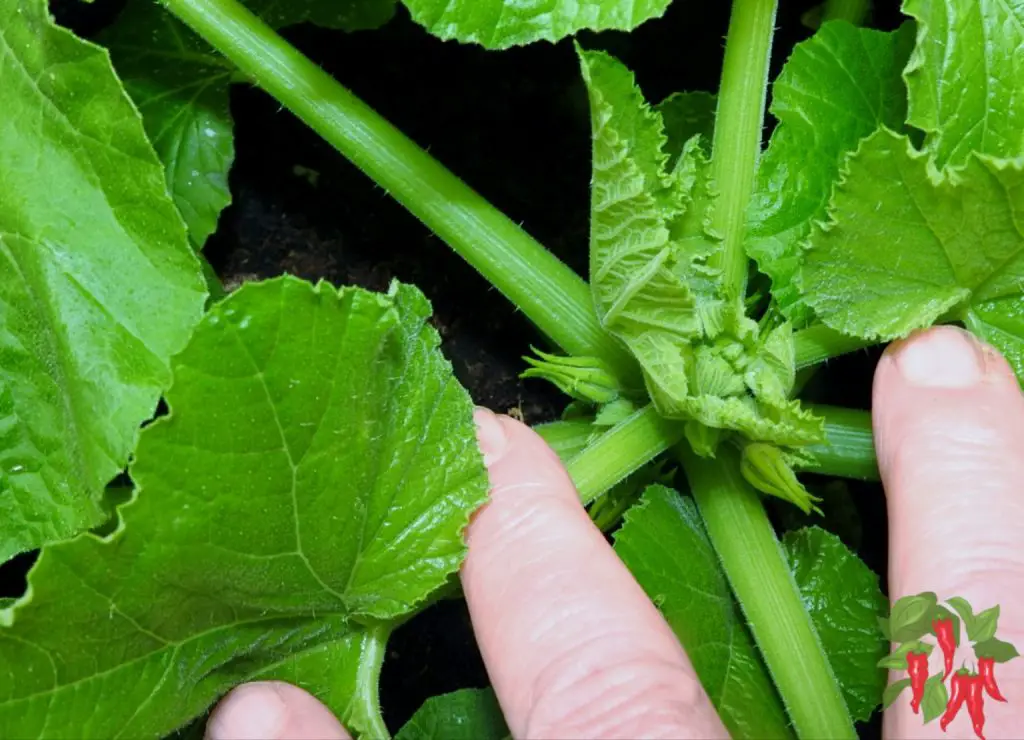
I am starting to see the development of flowers on the hydro plant.
Dont Use Hydroponics If You Want Small Plants
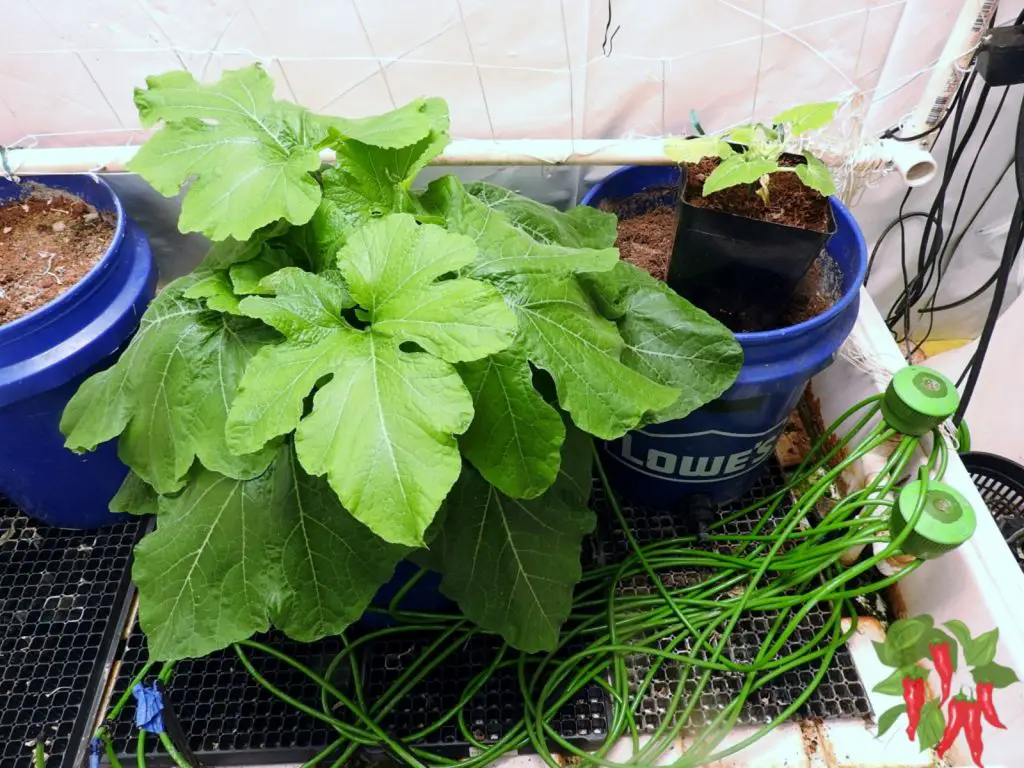
These Bush Table Queen Acorn Squash plants are 4 weeks old from germination. You can easily see the difference between hydroponic plants and plants grown conventionally.
Same coco coir soil, under the same light and fed with the same nutrients. The difference? The larger plant receives multiple feedings per day while the small plant gets watered twice a week.
Size Comparison Video
Table Queen Squash Flowering at 30 Days
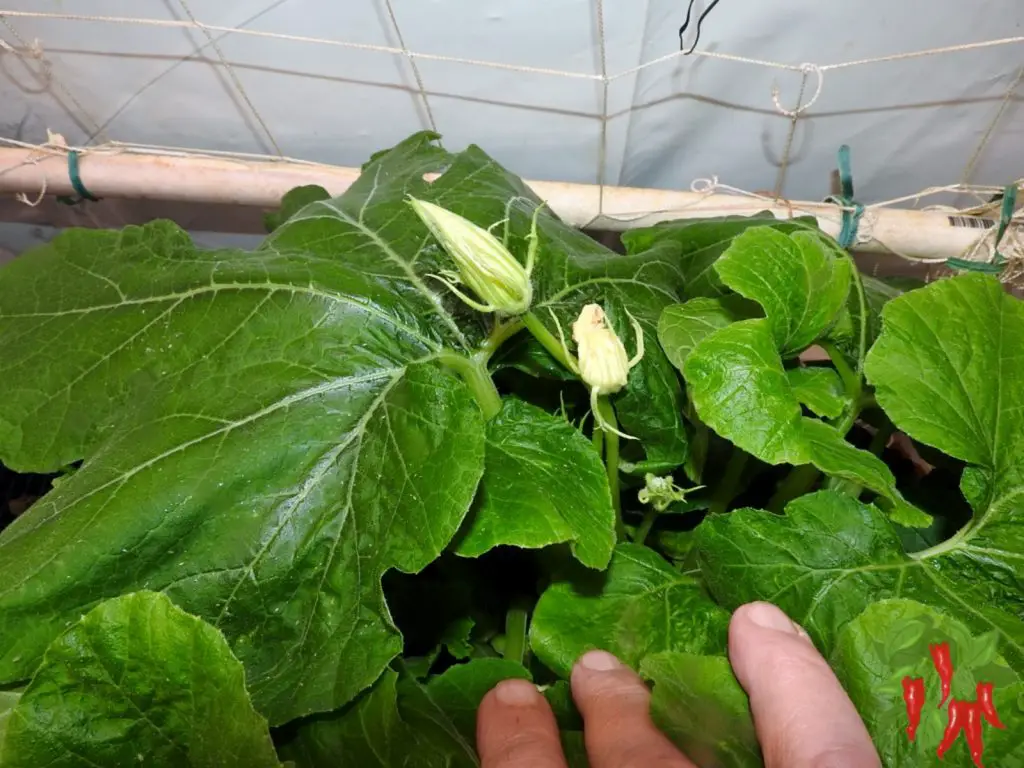
I am seeing the development of flowers on the hydro plant at 30 days. This plant is remaining a true bush so I have transplanted the other plant into a 5-gallon bucket because there’s room for it.
Big Changes Week 7 Both Plants Flowering
I am growing Table Queen Squash hydroponically from seed to harvest in this video series.
I am using coco coir which is a hydroponic grow medium. It is week 7 from germination with 2 plants.
One was just planted into my hydroponic system a week ago. Both plants are flowering.
Here is the first plant. It has been in my hydroponic system for a bit over a month. Flowers everywhere and some are hidden by the foliage.
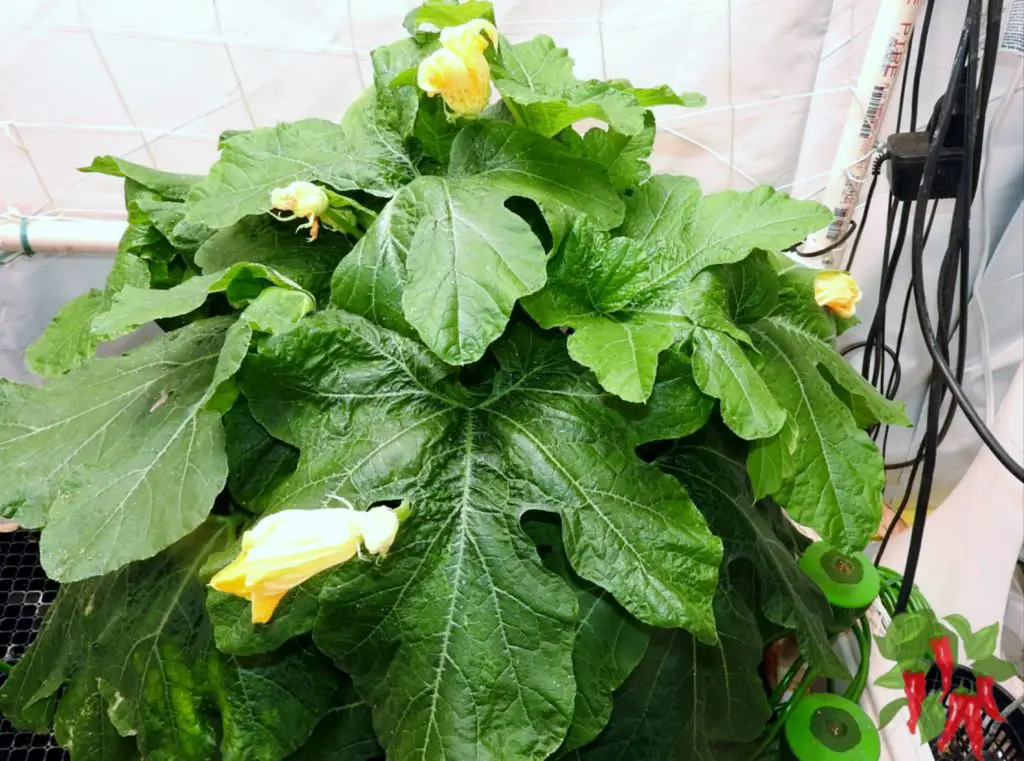
Here is the smaller plant. It is actually the same age as the larger plant but was grown conventionally until I transplanted it into my system. It is also flowering.
How To Get Rid of Aphids
So its been about 60 days from germination and I have a full blown aphid attack. I’ll talk a bit about aphids and how to get rid of them in my video below.
How To Get Rid of Aphids on Squash Plants Video
Read the full article: How To Get Rid of Aphids on Squash Plants: Tips and Tricks – Stay Green Garden
Read more: Indoor Apartment Gardening: 15 Point Comprehensive Guide
Visit my Amazon Influencer Page for videos and gardening products Grow Your Own Garden


