This post may contain affiliate links. If you buy something from one of our links we may earn a commission. Thanks
Urban gardeners can maximize their yield and get a variety of greens year-round by learning how to grow microgreens indoors in trays. It is also fast and easy to do.
Urban gardening has become increasingly popular in recent years as more people look to grow their own food in small spaces.
Many folks don’t have an outdoor space for a garden but microgreens are a great way to grow your own veggies indoors even in a small apartment.
Growing microgreens in trays is a simple and efficient way to produce a constant supply of fresh greens, even in a small urban setting.
In this blog, we will explore the benefits of growing microgreens indoors, the equipment and supplies needed, and give you easy step-by-step instructions for getting started growing microgreens.
What Are Microgreens?
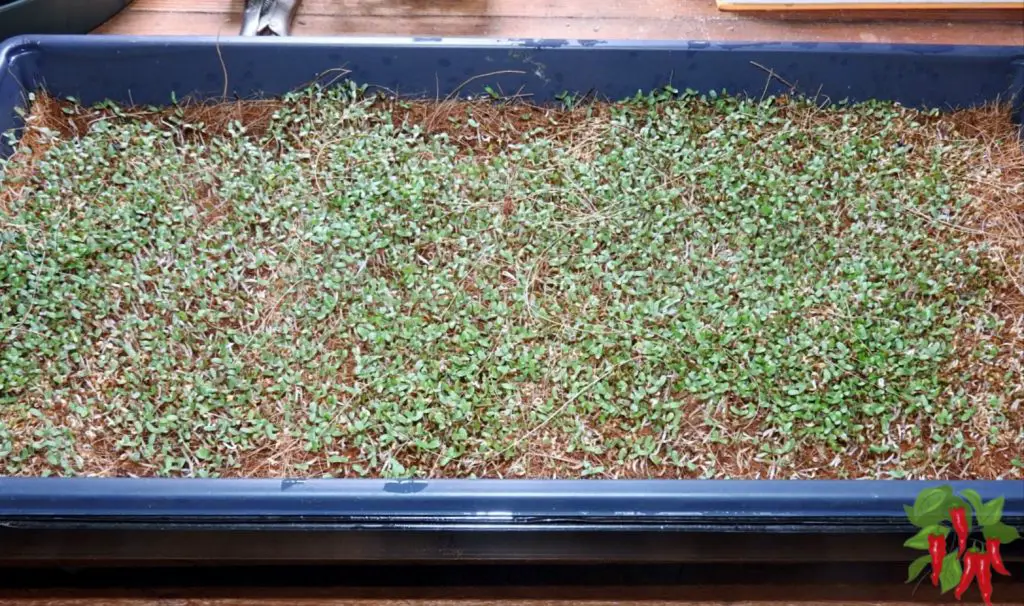
Microgreens are young vegetable greens that are harvested when they are about 1-3 inches tall.
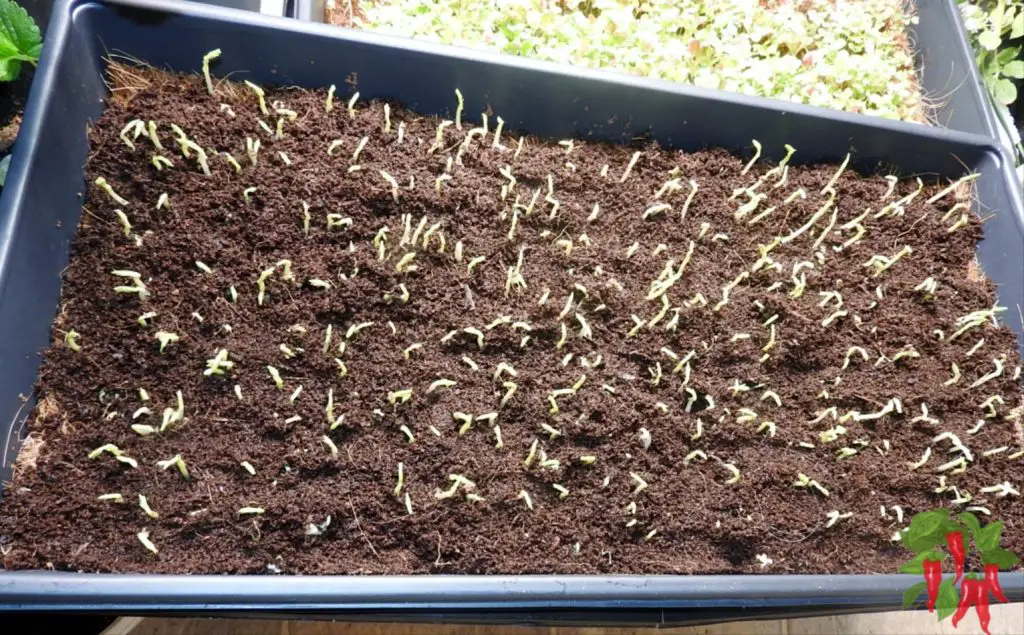
They are harvested at the cotyledon stage just before they have their first true leaves. This usually takes less than 2 weeks.
Because they are harvested so young they are packed with nutrients and have a concentrated flavor that is often stronger than their mature counterparts.
What Are The Benefits Of Growing Microgreens Indoors?
• Growing microgreens indoors allows you to have a constant supply of fresh greens year-round, regardless of the weather outside.
• They are also very easy to grow and can be grown in small spaces, making them a great option for beginners or those with limited indoor space.
• In addition, microgreens are a sustainable and environmentally friendly choice as they can be grown using minimal resources and do not require transportation from a farm to your table.
7 Of The Easiest Microgreens To Grow In Trays:
Here are some of the easiest and most popular microgreens you can grow at home. There are many other vegetables that can be grown as microgreens.
The exception is nightshade family vegetables like tomatoes and peppers whose leaves are toxic so do not grow them as microgreens.
• Radish: Radish microgreens have a spicy flavor and can be grown in as little as a week. They prefer cooler temperatures and need to be kept moist.
• Arugula: Arugula microgreens have a pungent, mustard-like flavor and can be grown in about 10-14 days. They prefer cooler temperatures and well-draining soil.
• Broccoli: Broccoli microgreens are high in antioxidants and can be grown in about 7-14 days. They prefer cooler temperatures and need to be kept moist.
• Cabbage: Cabbage microgreens have a sweet, crisp flavor and can be grown in about 10-14 days. They prefer cooler temperatures and well-draining soil.
• Basil: Basil microgreens have a sweet, herbaceous flavor and can be grown in about 12-15 days. They prefer warmer temperatures and need to be kept moist.
• Cilantro: Cilantro microgreens have a pungent, citrus-like flavor and can be grown in about 10-20 days. They prefer warmer temperatures and well-draining soil.
• Kale: Kale microgreens are high in nutrients and have a slightly bitter flavor. They can be grown in about 10-14 days and prefer cooler temperatures and well-draining soil.
How To Grow Microgreens Indoors In Trays In 7 Easy Steps
Here is an easy step-by-step guide on how to grow microgreens indoors.
1. What Do You Need?
To grow microgreens indoors in trays, you will need seeds, a tray or container, a seed-starting mix or soil, and grow lights (if you do not have access to natural sunlight).
Microgreens grow fast and need high light levels to grow properly. In the summer a sunny windowsill is fine.
But in the winter most of the United States has short days and low light levels. So if you want to grow microgreens year-round you will need supplemental lighting.
2. Choosing the right seeds
First and foremost make sure the seeds you buy are organic and non-GMO.
Not all seeds can be used because some are treated with stuff you don’t want to eat like fungicides. Others like birdseed are treated to not germinate.
Choosing Microgreen Seeds
When choosing seeds for your microgreens, consider your personal preference in terms of flavor and nutrition.
Some popular options include radish, arugula, broccoli, cabbage, basil, cilantro, and kale.
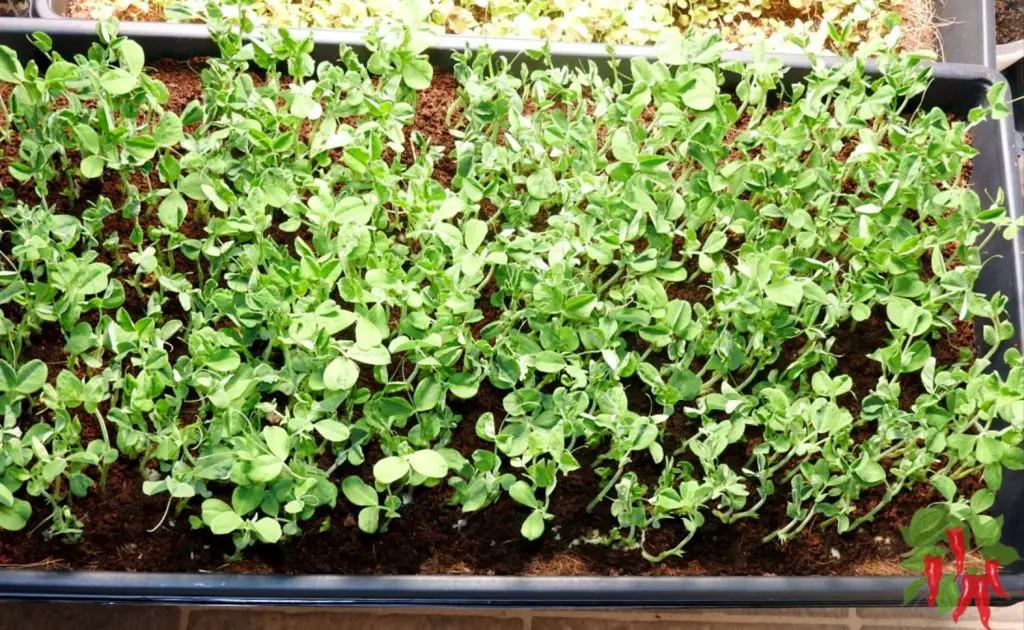
Some other large-seeded microgreens you can grow are peas, beans and sunflowers.
How much seed do you need?
The amount of seeds you will need will depend on the size of your tray and the type of seeds you are using.
As a general rule, use about 1-2 tablespoons of seeds per square foot of tray space.
Pre-soaking seeds for faster germination:
Pre-soaking your seeds before planting can help to speed up the germination process.
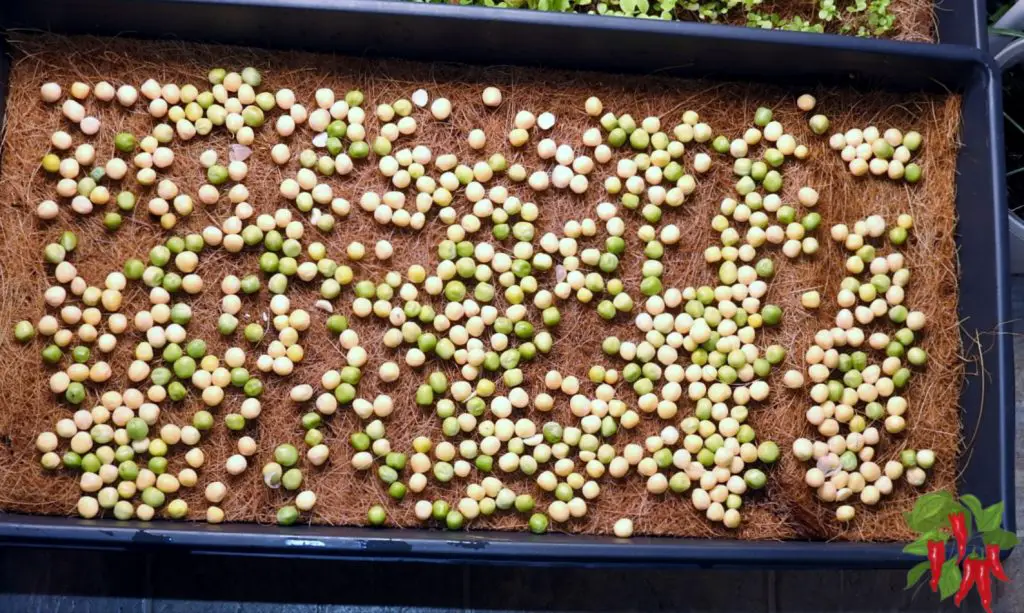
To do this, place your seeds in a bowl of water and let them soak for about 8-12 hours before planting.
I find soaking seeds makes them harder to plant so I only soak larger seeds like peas or sunflowers.
3. Setting up the tray
Choose the right tray size and growing medium:
The size of the sprouting trays for microgreens you will use depends on how much space you have available and how many microgreens you want to grow.
You will want to use a shallow tray or container with drainage holes to prevent the soil from becoming waterlogged.
Many people want to use recycled food trays they have on hand. You can do this as long as they are thoroughly cleaned.
You can also use a seed flat and this is really the best choice. 1020 propagation trays measure about 10 x 20 inches and are available with and without drainage holes. These growing trays from Bootstrap Farmer are heavy-duty and will last for years. Filling the tray with a seed-starting mix or soil:
To fill your tray, use a seed-starting mix or lightweight soil that is well-draining. I recommend using coco coir as a growing medium.
Be sure to moisten the soil before planting to help the seeds germinate.
Bottom Watering Seed Trays
The best way to water is by bottom watering because seeds won’t get uncovered or moved around like when you water from the top.
To do this place your soil in a tray with drainage holes. Then place that in a second tray without any holes filled with room temperature water.
You will probably only need to do this once. After you plant your seeds you will want to use a misting bottle.
4. Planting the seeds :
As mentioned before you will need 1-2 tablespoons of seed for your tray. As a general rule, plant your seeds about 1/4 to 1/2 inch apart.
You can either push them into the soil surface or you can cover the seeds with a thin layer of soil Once you have planted your seeds give them a light misting.
This will help to keep the seeds moist and protect them from drying out. You can also put an empty tray on top of them but remove it once they start germinating.
5. Provide the proper growing environment
Find a location with adequate sunlight or use grow lights:
Microgreens need plenty of light to grow, so be sure to place your tray in a location that receives at least 6-8 hours of direct sunlight per day.
Keep the temperature in your grow area between 60-70°F for optimal growth. You can use a thermometer to monitor the temperature.
Maintain a moderate level of humidity by misting the tray with water as needed.
Water the tray consistently to keep the soil moist:
Water your microgreens consistently to keep the soil moist, but be careful not to overwater.
You can use a spray bottle to gently mist the soil to avoid disturbing the seeds.
It is best to water your microgreens early in the day so the foliage has time to dry before evening.
6. Caring for the microgreens
Monitor the tray for signs of pests or disease:
Keep an eye on your microgreens for any signs of pests or disease. Common issues include aphids, whiteflies, and fungal diseases. Insect problems are rare.
Fungal diseases are almost always caused by overwatering but are also rare but if either does occur you can use organic pest control methods.
Because we are going to eat these plants in a short time the best option really is to correct the problem and start over.
Fertilizing the tray
Because microgreens grow so fast there is no need to fertilize them. The seed itself can supply all the nutrients these young plants need.
7. Harvesting the microgreens
Choosing the right time to harvest:
The timing of your harvest will depend on the type of microgreens you are growing.
Some microgreens, such as radish and arugula, can be harvested in as little as a week, while others, like broccoli and cabbage, may take a bit longer.
Start harvesting the microgreens when they reach the desired height:
When your microgreens reach the desired height, typically 1-3 inches, you can trim them using scissors or a sharp knife.
Cut the microgreens at the base of the stem close to the soil line.
Most microgreens will not grow back after cutting but a few like peas or kale may if you don’t cut them right at the soil line.
Washing and storing the microgreens for use in recipes:
After harvesting, wash your microgreens thoroughly and pat them dry with a paper towel. You can use a salad spinner for this if you have one.
You can store your microgreens in the refrigerator for up to a week in a plastic bag or container with a damp paper towel to help them stay fresh.
Final Thoughts
To grow microgreens indoors in trays, you will need to choose the right seeds, set up your tray with a seed-starting mix or soil, provide the proper environment, care for your microgreens, and harvest them when they reach the desired height.
Growing microgreens at home is a fun and rewarding activity that can provide you with a constant supply of fresh, nutritious greens. Whether you are a seasoned gardener or new to growing your own food, microgreens are a great option to consider.


 Filling the tray with a seed-starting mix or soil: