Learning how to grow microgreens can be a rewarding venture, especially for apartment dwellers short on space.
Microgreens are a nutritious and easy-to-grow option for indoor gardening enthusiasts.
What Are Microgreens?
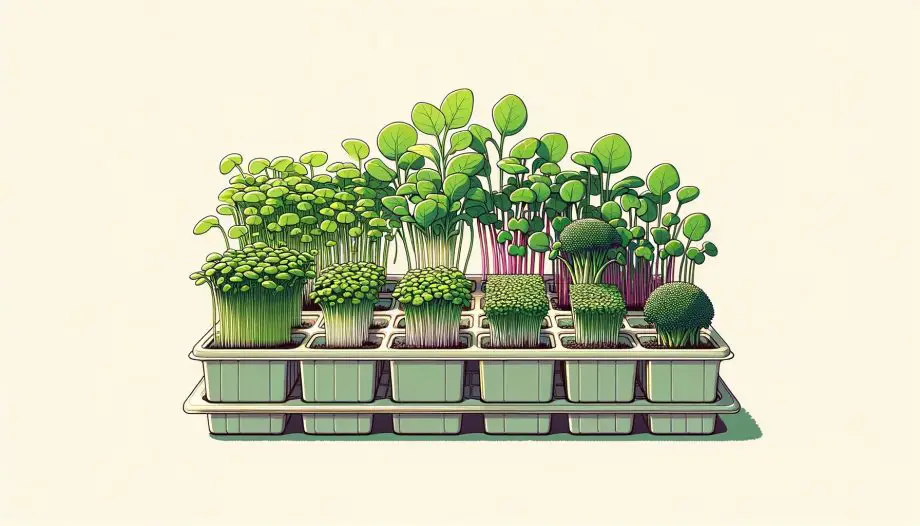
Microgreens are tiny, yet mighty, wonders in the world of indoor gardening. These are not just ordinary greens; they’re the young, tender shoots of vegetables and herbs.
Imagine harvesting your favorite greens like broccoli, radish, or basil, just a few weeks after planting!
Microgreens are known for their intense flavors and vibrant colors, making them a popular choice for garnishing dishes or adding a nutritious punch to salads.
But it’s not just about looks and taste. These little greens are packed with nutrients.
Studies suggest they contain higher levels of vitamins and antioxidants compared to their mature counterparts.
And the best part? Growing microgreens is surprisingly easy and accessible. You don’t need a big garden space or complex tools.
With just a shallow tray, some soil, seeds, and basic care, you can cultivate a variety of microgreens right in your home.
Whether you’re a seasoned gardener or a beginner, microgreens offer a simple, quick, and rewarding gardening experience.
Let’s delve into the tiny yet mighty world of microgreens and discover how you can grow these nutritious greens at home.
Microgreens are the young seedlings of edible vegetables and herbs.
They’re usually harvested just after the first true leaves have developed, typically within 7 to 21 days after germination.
Despite their small size, microgreens boast intense flavors, vivid colors, and varied textures.
Microgreens are vegetable greens (not to be confused with sprouts or shoots) harvested just after the cotyledon leaves have developed with one set of true leaves. They are used as a visual, flavor and texture enhancement. Microgreens are used to add sweetness and spiciness to foods. Microgreens are smaller than “baby greens” because they are harvested soon after sprouting, rather than after the plant has matured to produce multiple leaves. Wikipedia
Microgreens are nutrient powerhouses. They often contain higher levels of vitamins, minerals, and antioxidants than their mature plant counterparts.
This makes them not only a flavorful addition to meals but also a healthy one.
Growing Microgreens at Home
One of the best things about microgreens is their simplicity to grow. They require minimal space and can thrive indoors. With just a few basic supplies, you can grow a range of microgreens, enjoying fresh greens all year round.
Equipment and Supplies for Growing Microgreens
Starting your microgreen garden is exciting, and it begins with gathering the right equipment and supplies.
The beauty of microgreens is their simplicity; you don’t need much to get started. Below, we break down the essentials and offer tips on choosing the best options for a successful microgreen harvest.
Essential Supplies
Seeds: The first step in your microgreens journey is selecting seeds. There are numerous types, including vegetables like radish and herbs like basil. Look for non-GMO and organic seeds for the best quality.
Containers: Any shallow tray or container works for microgreens. They don’t need deep soil, so even repurposed food containers can be perfect.
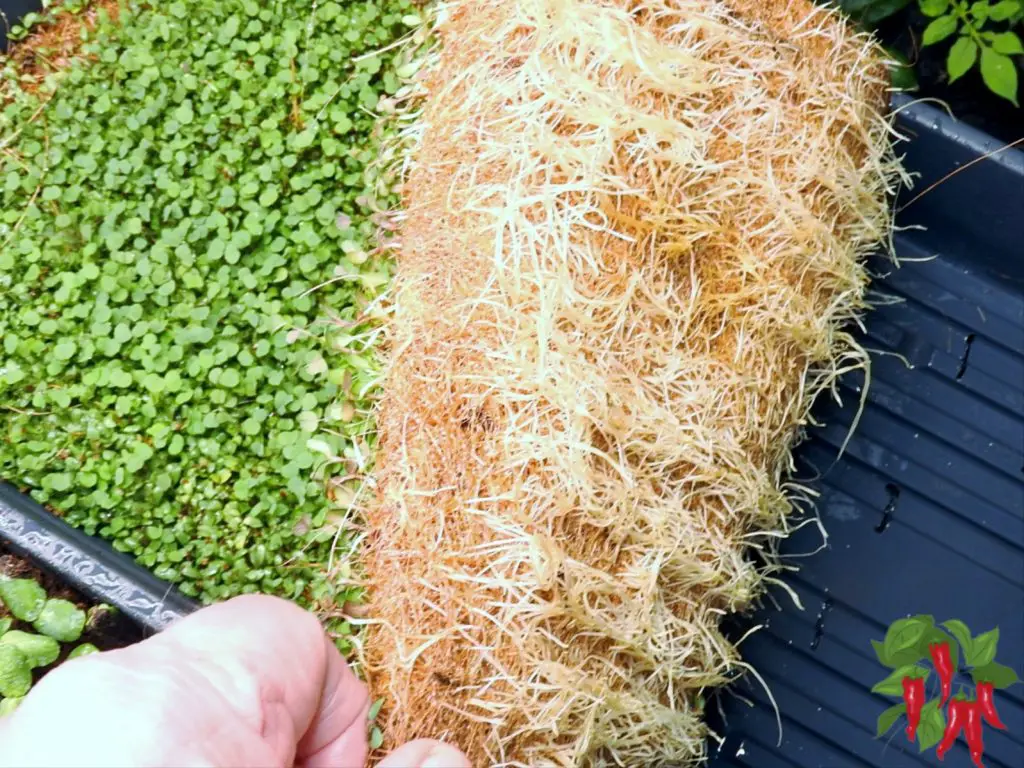
Potting Soil or Grow Mats: You can use regular potting soil, coco coir or specialized grow mats made from materials like hemp or coco coir. The key is to ensure good moisture retention and drainage.
Spray Bottle: A spray bottle is ideal for gently watering your microgreens without disturbing the seeds or young plants.
Grow Lights (Optional): If you don’t have access to sufficient natural light, grow lights can be a great alternative. They help ensure your microgreens receive the light they need to thrive.
Shelving Units (Optional): For those with limited space or looking to grow multiple trays of microgreens, vertical shelving units can be very useful.
Choosing the Right Seeds and Soil
Seeds: The variety of seeds you choose can affect the flavor and nutrient content of your microgreens. Easy-to-grow options for beginners include radish, broccoli, and sunflower seeds.
Soil: Opt for a nutrient-rich, well-draining soil. If you’re using potting soil, consider mixing in some perlite or vermiculite to improve drainage and aeration. Straight coco coir works really well too.
Types of Containers and Trays
Containers for microgreens don’t have to be fancy. You can use anything from specially designed microgreen trays to DIY options like pie trays or takeaway containers with holes punched in for drainage.
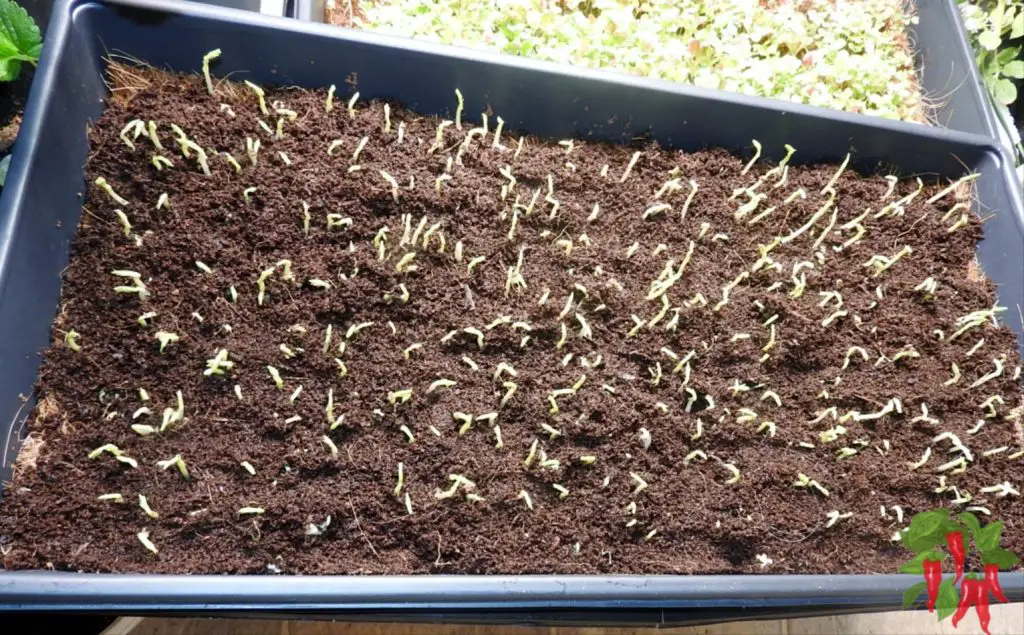
I prefer using standard 1020 trays for microgreens like those above.
Importance of Grow Lights
In areas with limited natural light, grow lights can make a significant difference.
They provide a consistent light source, essential for the growth of healthy, strong microgreens.
When selecting grow lights, look for full-spectrum LED options that are energy-efficient and emit a balanced light suitable for plant growth.
With these supplies in hand, you’re well on your way to starting a thriving microgreens garden. Remember, the key to success is starting with quality materials and providing your plants with the care they need to grow.
Preparing to Plant Microgreens
Before you start planting your microgreens, preparing your growing medium and containers is crucial.
This stage sets the foundation for healthy and successful microgreen growth.
In this section, we’ll cover the essential steps for preparing your growing medium and containers, tips on seed soaking, and temperature considerations for different microgreen varieties.
Preparing the Growing Medium and Containers
Growing Medium: Begin by choosing a suitable growing medium. Potting soil, coconut coir, or specialized grow mats are popular choices. Ensure the medium is loose and well-draining to prevent waterlogging.
Containers: For containers, shallow trays or repurposed food containers work well. Make sure they have drainage holes.
Fill the containers with your growing medium, leaving about an inch at the top. Gently press the soil to create a flat, even surface but avoid compacting it too much.
Tips on Soaking Seeds
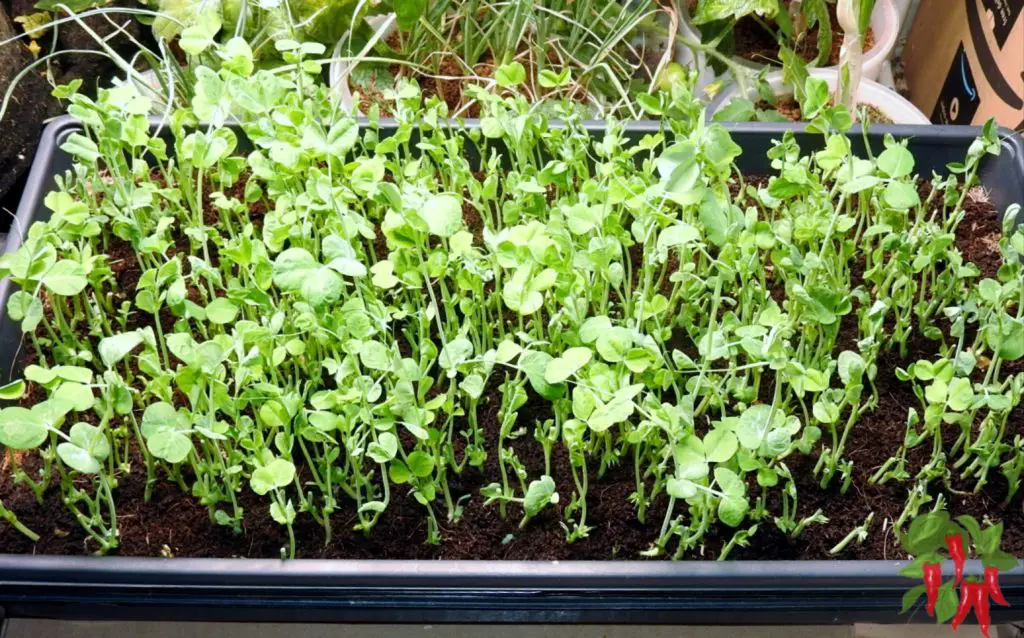
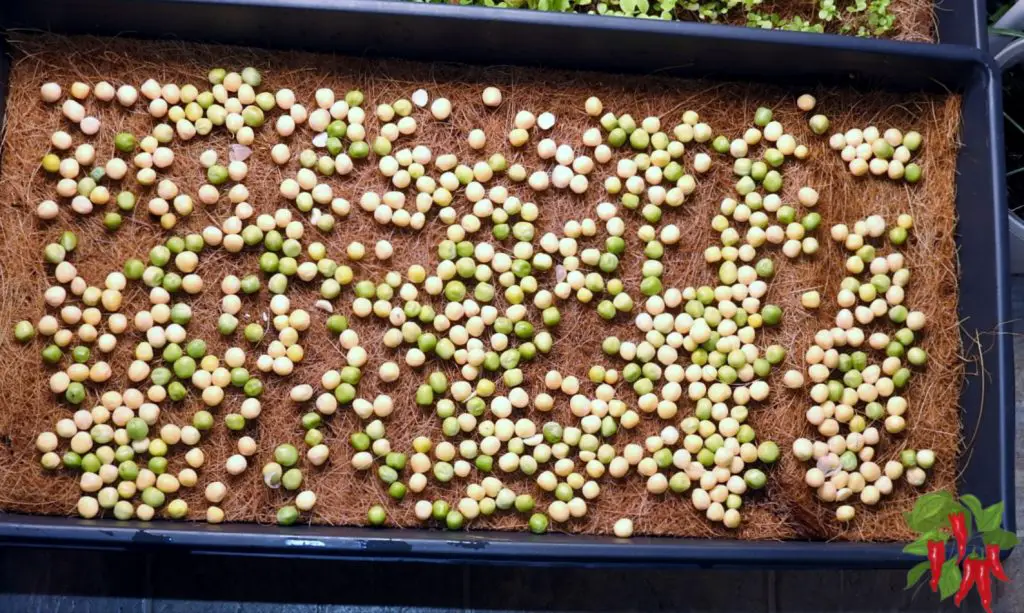
Larger Seeds: Seeds like peas or sunflowers benefit from soaking in water for 6-8 hours before planting. This softens the hard outer shell and speeds up germination.
Soaking Process: Immerse the seeds in water and let them soak. Drain and rinse them before spreading them onto your growing medium. This process is especially beneficial for seeds with a tough outer coating.
I generally don’t soak smaller seeds because it is harder to spread out wet seeds for planting.
Soil and Ambient Temperature Considerations
Soil Temperature: The ideal soil temperature for germination varies among different microgreen varieties. For instance, basil prefers warmer soil compared to cooler-loving brassicas like kale.
Ambient Temperature: Generally, microgreens thrive in temperatures between 65–75°F. Extreme temperatures can inhibit germination and growth, so maintaining a consistent room temperature is key.
By carefully preparing your growing medium, soaking your seeds when necessary, and considering temperature requirements, you can create an optimal environment for your microgreens to flourish.
With these steps completed, you’ll be ready to move on to the exciting phase of planting and watching your microgreens grow.
Planting and Growing Microgreens
Planting and growing microgreens is a straightforward process, but getting the details right is key to ensuring a healthy, abundant harvest.
Here we’ll cover the essential steps: seeding, creating the right environment for germination, understanding light requirements, and mastering watering techniques.
Seeding: Spreading Seeds Evenly and Seed Density
Even Spreading: Begin by evenly distributing your seeds across the surface of the soil. For smaller seeds, you can gently shake them from the packet or use your fingers for more control. Larger seeds can be placed individually.
Seed Density: The right seed density is crucial. Overcrowding can lead to poor air circulation and increase the risk of mold. A general guideline is 10-12 seeds per square inch for smaller varieties and 6-8 seeds per square inch for larger seeds.
Creating the Ideal Environment for Germination
Covering Seeds: After seeding, cover the seeds lightly with a thin layer of soil or a wet paper towel. This creates a dark, moist environment that promotes germination.
Humidity and Temperature: Maintain a consistent temperature and humidity level. Using a plastic cover or lid can help retain moisture and warmth, which is essential for germination.
Light Requirements and Light Source Setup
Light Requirements: Once seeds have germinated and sprouts appear, they need plenty of light. Microgreens generally require about 12-16 hours of light per day.
Setting Up Light Source: If natural light is insufficient, use grow lights. Place the lights a few inches above the plants and ensure they cover the entire growing area evenly.
Watering Techniques
Consistency: Microgreens need consistent moisture but should not be waterlogged. Check the soil daily; if the top feels dry, it’s time to water.
Watering Methods: Bottom watering is recommended as it reduces the risk of mold and keeps the stems and leaves dry.
To bottom water, fill the tray underneath the soil container with water and let the soil absorb it from below. Avoid overwatering, as it can lead to mold and disease.
I like using a spray bottle to keep the soil moist. Top watering will move around seeds and soil but misting won’t disturb the seeds and I find it easier than bottom watering.
By following these steps and paying close attention to the needs of your microgreens, you can ensure a healthy and plentiful harvest.
Remember, each variety of microgreens might have slightly different requirements, so it’s always good to research specific needs based on the seeds you choose.
Caring for Microgreens
Once your microgreens are planted, proper care is crucial for healthy growth.
This includes managing light and temperature, monitoring soil moisture, and being vigilant about potential issues like mold or spindly growth.
Let’s explore these aspects to ensure your microgreens thrive.
Managing Light and Temperature
Light: Microgreens need plenty of light after germination. Ensure they receive about 12-16 hours of light daily. Rotate the trays occasionally to ensure even growth if the light source is one-sided.
Temperature: Keep the growing area at a comfortable room temperature, ideally between 65-75°F (18-24°C). Avoid extremes, as too hot or too cold temperatures can hinder growth.
Monitoring and Maintaining Soil Moisture
Soil Moisture: Consistent moisture is key. The soil should be moist but not soggy. Check daily and water as needed.
Watering Method: Use a spray bottle for gentle watering or bottom water by adding water to the tray beneath the soil container. This method prevents overwatering and reduces the risk of mold.
Troubleshooting Potential Issues
Mold: Mold can occur due to excessive moisture or poor air circulation. To prevent mold, ensure good airflow, avoid overwatering, and keep the soil moist but not wet.
Falling Over Microgreens: If microgreens fall over, it could be due to insufficient light, overcrowding, or uneven watering. Increase light exposure, thin out densely sown areas, and ensure even watering.
By closely monitoring these factors and promptly addressing any issues, you can grow healthy and robust microgreens.
Regular care and attention are the keys to a successful microgreen garden.
Harvesting Microgreens
Harvesting microgreens is the most rewarding part of the growing process. It’s when you get to enjoy the fruits of your labor.
To ensure the best quality and flavor, it’s important to know the right time to harvest, how to do it properly and understand that different plants have varying harvesting times.
Identifying the Right Time to Harvest
True Leaves: The best indicator of when to harvest is the appearance of the first set of true leaves. These are the leaves that appear after the initial, simpler cotyledon leaves.
Height: Most microgreens are ready to harvest when they’re about 2-3 inches tall. This usually happens 2-3 weeks after planting, but the exact timing can vary depending on the plant variety and growing conditions.
How to Harvest Microgreens
Harvesting Technique: Use a sharp pair of scissors to cut the microgreens just above the soil line. This method ensures that you don’t pull up the roots, which could disturb the remaining plants.
Gentle Handling: Be gentle to avoid crushing or bruising the delicate microgreens. Harvest them right before you plan to use them for the freshest flavor.
Variations in Harvesting Time
Plant Type: Different microgreens have varying optimal harvest times. For example, some greens might taste best when harvested right after the cotyledons have fully developed, while others might be more flavorful after the first true leaves appear.
Flavor and Texture: The harvesting time can affect the flavor and texture of the microgreens. Some varieties might become bitter or tough if left to grow too long.
By understanding these harvesting principles, you can ensure that your microgreens are at their peak of flavor and nutritional value when you bring them to the table.
Remember, each type of microgreen might have its unique harvesting cues, so it’s helpful to note the specific characteristics of the varieties you grow.
Using Microgreens
Incorporating microgreens into your meals not only adds a burst of color and flavor but also enhances nutritional value.
Here are some creative ideas for using microgreens and tips on storing them to retain their freshness.
Creative Ideas for Incorporating Microgreens into Meals
As a Garnish: Sprinkle microgreens on top of soups, pizzas, omelets, or any dish where you want a fresh, flavorful finish.
In Salads: Mix different types of microgreens to create a nutrient-packed salad. They can be used alone or mixed with other greens for added texture and flavor.
In Sandwiches and Wraps: Add a layer of microgreens to your sandwiches and wraps for a crunchy, nutrient-rich addition.
Blended in Smoothies: For an extra health boost, blend microgreens into your smoothies. They pair well with fruits and other vegetables.
As a Base for Dishes: Use microgreens as a base for plated dishes, particularly for appetizers or small bites, giving an elegant and gourmet touch.
Storage Tips to Keep Microgreens Fresh
Immediate Use: Microgreens are best used immediately after harvesting for optimal freshness and flavor.
Refrigeration: If you need to store them, place microgreens in a plastic bag or an airtight container lined with a paper towel. This setup helps absorb excess moisture and keeps them fresh.
Humidity and Temperature: Store them in the refrigerator. The ideal temperature is around 35-40°F (1.5-4.5°C). Be sure to keep them away from ethylene-producing fruits in the fridge, as this can speed up decay.
Dry Before Storing: Make sure the microgreens are dry before storing them. Excess moisture can lead to rapid spoilage.
Using and storing microgreens properly can enhance a variety of dishes and help you maintain their freshness.
Experiment with different varieties in your cooking to discover the unique flavors and textures they can bring to your meals.
FAQs on Growing Microgreens
In this section, we’ll answer some frequently asked questions about growing microgreens. Whether you’re a beginner or looking to expand your knowledge, these answers will help guide you in your microgreens journey.
Q: Do microgreens regrow after cutting?
A: Generally, microgreens do not regrow after cutting. They are harvested at a young stage, and once cut, they don’t typically have the resources to regrow. It’s best to start a new batch after harvesting.
Q: How do you start microgreens for beginners?
A: To start microgreens, beginners should:
Gather supplies: seeds, a shallow container, potting soil or grow mats, and a spray bottle.
Prepare the container with soil, moisten it, and evenly spread the seeds.
Cover the container lightly to create a dark, moist environment for germination.
Once seeds germinate, expose them to light and maintain consistent soil moisture.
Q: What are the best microgreens for beginners?
A: Easy microgreens for beginners include radish, broccoli, cabbage, kale, sunflowers, and peas. These varieties are generally more forgiving and easier to grow.
Q: Do microgreens like potting soil or seed starter?
A: Microgreens do well in potting soil, which is typically nutrient-rich and well-draining. Some growers also use seed starting mixes, but it’s crucial to ensure good moisture retention and drainage.
I prefer using coco coir for starting microgreens as it is more environmentally friendly than potting mixes
Q: What seeds should not be used in microgreens?
A: Avoid seeds that are treated with fungicides or pesticides. Also, some plants like tomatoes, potatoes, and eggplants, which belong to the nightshade family, should not be used as their sprouts can be toxic.
Q: Do I need to soak microgreens before planting?
A: Soaking is recommended for larger seeds like peas or sunflower to speed up germination. Smaller seeds usually don’t require soaking.
Q: Can you reuse the soil after growing microgreens?
A: Reusing soil can increase the risk of disease and pest problems. It’s generally recommended to use fresh soil for each batch to ensure the healthiest growth.
Q: Do you wash microgreens?
A: Yes, it’s a good idea to gently wash microgreens before eating to remove soil or debris. However, wash them right before use, as moisture can shorten their shelf life.
Q: Can you use tap water for microgreens?
A: Yes, tap water is usually fine for watering microgreens. If your tap water is heavily chlorinated or has high levels of other chemicals, you might consider using filtered water.
Q: Do you refrigerate microgreens?
A: After harvesting, if not used immediately, you should refrigerate microgreens. Store them in a container lined with a paper towel to absorb excess moisture and keep them fresh.
Conclusion: The Joy of Growing Microgreens Indoors
As we wrap up our guide on growing microgreens, let’s reflect on the numerous benefits and the pure joy this form of gardening brings.
Microgreens are not just a trendy addition to your meals; they are nutritional powerhouses, packed with vitamins and antioxidants. They offer a quick and satisfying way to engage with gardening, even in the smallest of spaces.
Accessibility and Simplicity for Beginners
The simplicity of the process makes it accessible to everyone, regardless of gardening experience.
With minimal equipment, a little bit of space, and basic care, you can cultivate a variety of microgreens, adding fresh, home-grown flavors to your diet.
The quick turnaround from seed to harvest means you can enjoy the fruits of your labor in just a few weeks, a gratifying experience for any gardener.
Creative Exploration with Microgreens
Beyond the practical aspects, growing microgreens is an opportunity to experiment and explore.
Each variety offers its unique flavor, texture, and color, providing endless possibilities for culinary creativity.
Whether you’re garnishing a gourmet dish or simply adding a nutritional boost to a smoothie, microgreens offer a fresh and flavorful addition.
Embracing the Joy of Microgreen Gardening
So, embark on this delightful journey of growing microgreens. Experiment with different seeds, explore various growing techniques, and most importantly, enjoy the process.
The world of microgreens is a vibrant and rewarding one, waiting for you to dive in!